How to Add a Kindle eBook to a TTS Book Reader Because Amazon Sucks (no DRM removal)
#blog #freakclub #writing #amazon #ebook #kindle #tutorial #howto #technology #media #books #reading

Amazon is constantly updating its DRM code to prevent folks from reading Kindle eBooks on non-Amazon apps and devices.
Programs like Natural Reader, Readwise Reader, and Speechify are wonderful tools to help those with low vision, processing disorders, ADHD, and other issues read; however, Amazon does its best to prevent compatibility with them.

Amazon strives to be the biggest eBook marketplace, and it has succeeded. To make it happen, Amazon frequently makes deals with authors for exclusivity, meaning the digital versions of books are often only available through them. This is extremely anti-consumer and limits the number of people who can access an author's work, especially for those who rely on TTS tools.
It sucks.
It's very annoying.
I hate it.
Thanks to some anonymous developers, there are sometimes methods that remove the DRM, but they can never be guaranteed to work and those plugins are quickly outdated.
This method is not as immediate or painless, but it is easy enough and reliably gets the job done.
You can set up the free software, either ShareX or Automatic Screenshotter, to take screenshots of your screen at a specific interval. For example, I set it to screenshot my PC screen when viewing the full-screen Kindle app every 2 seconds. That was enough time to hear the screenshot sound indicator, hit the right/next page arrow, and wait for the sound to reappear.
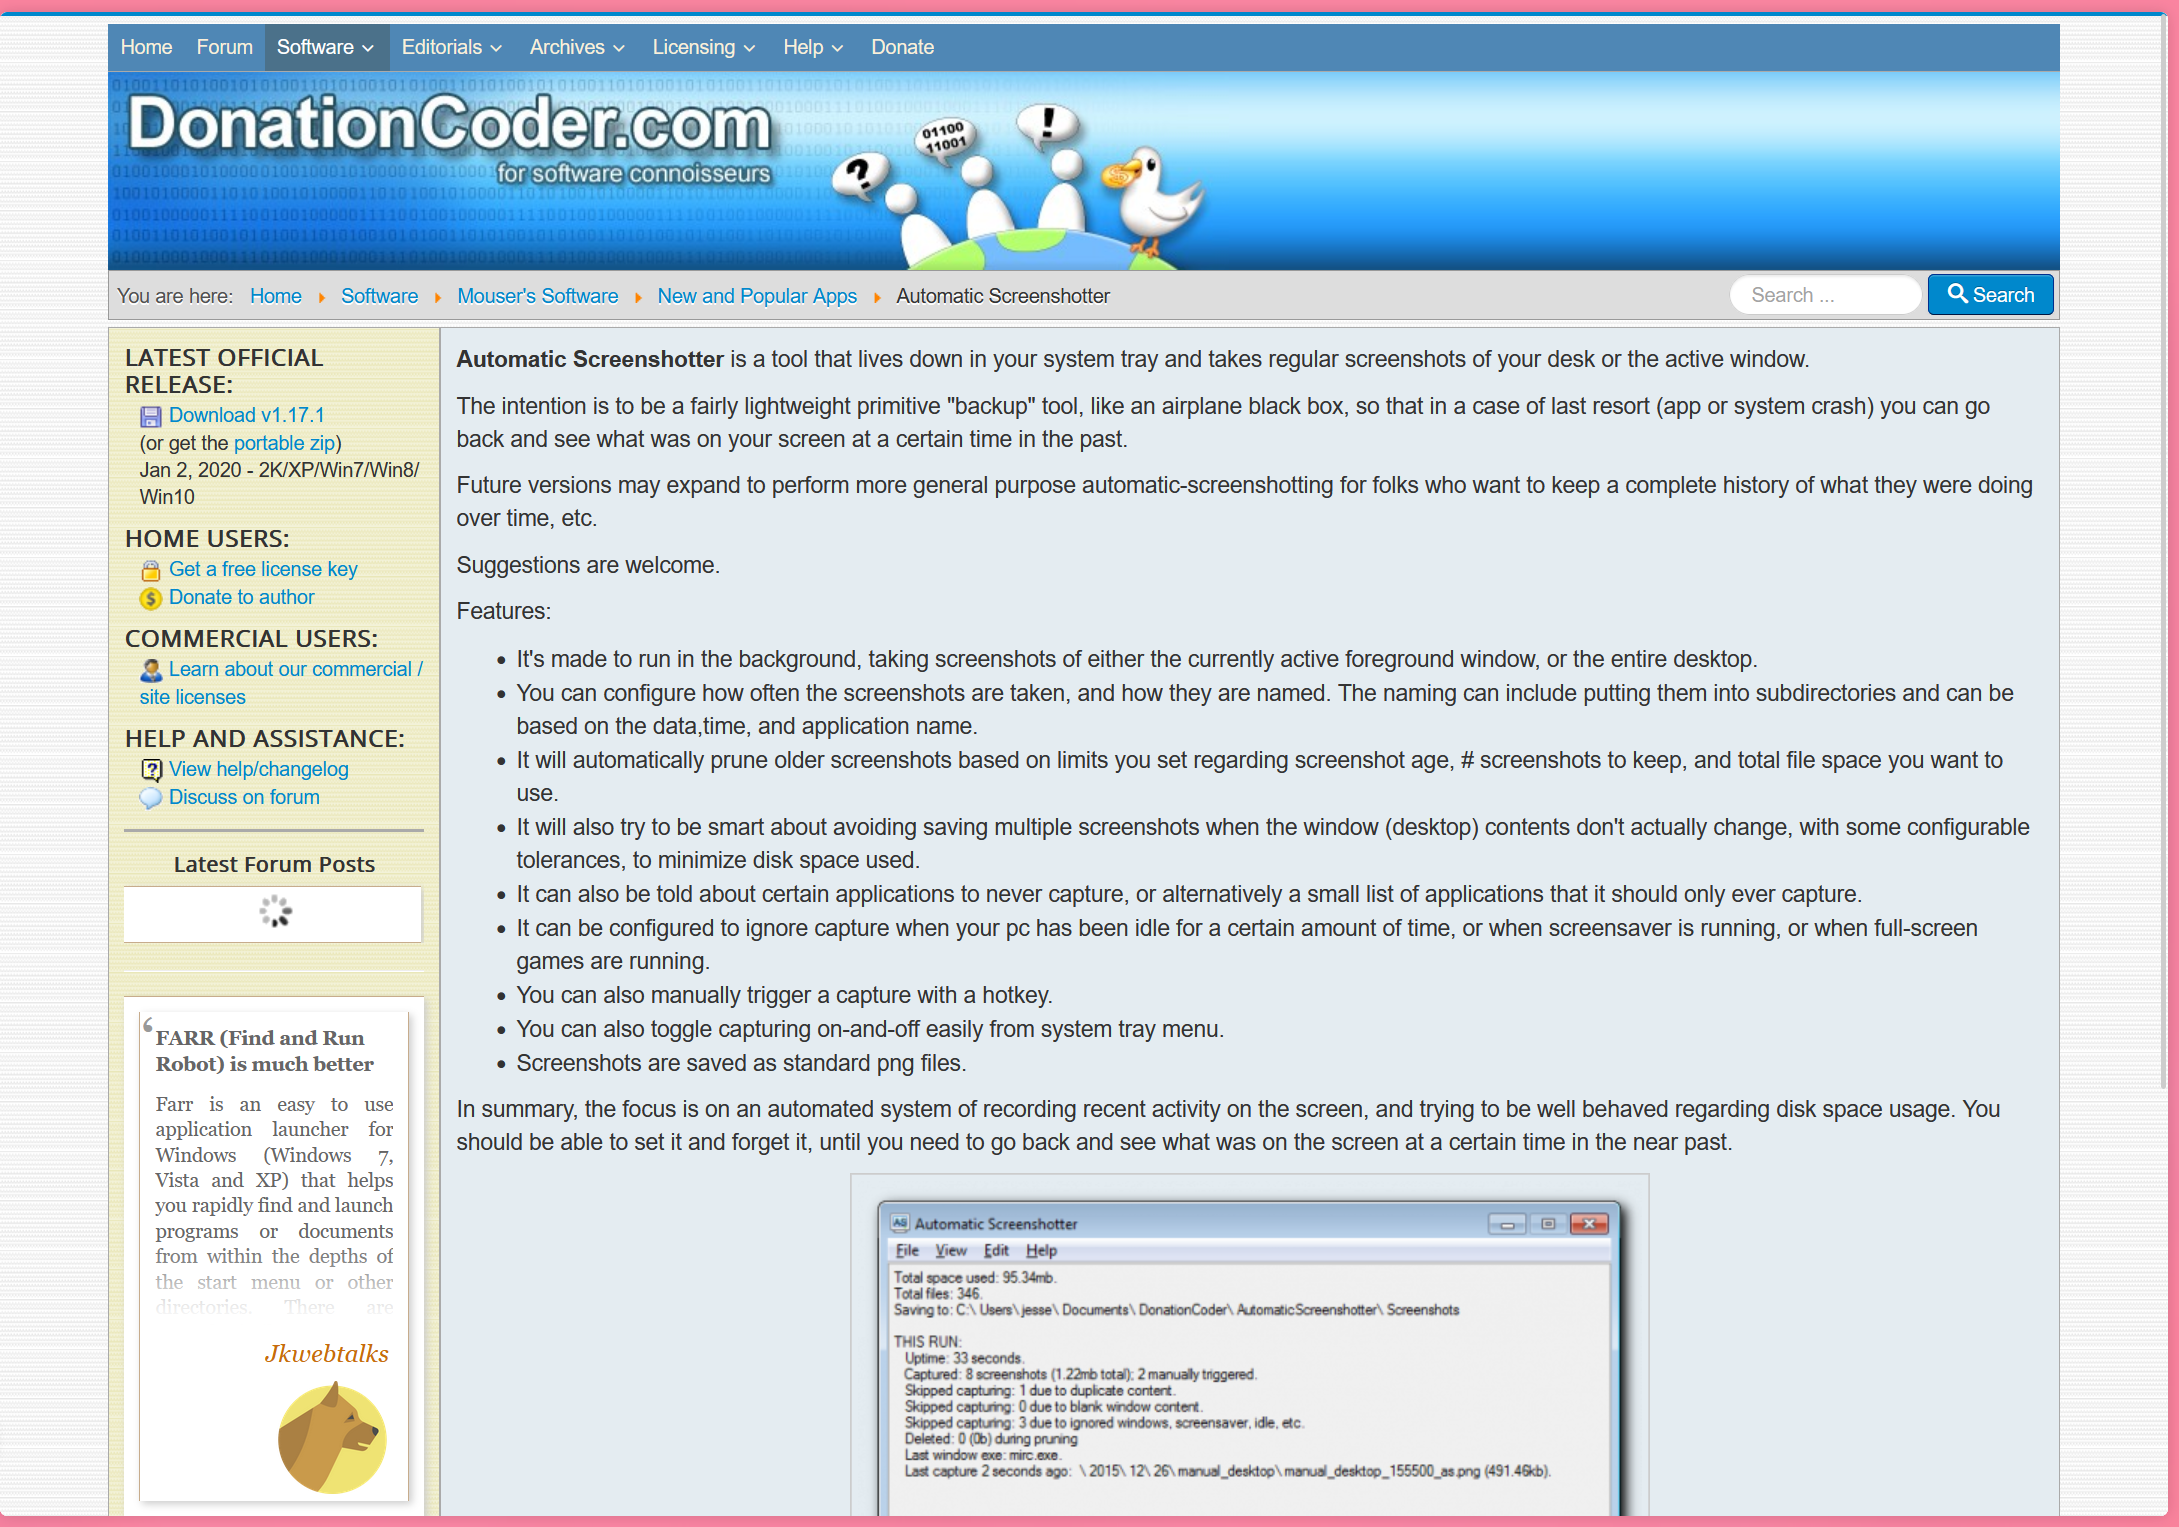
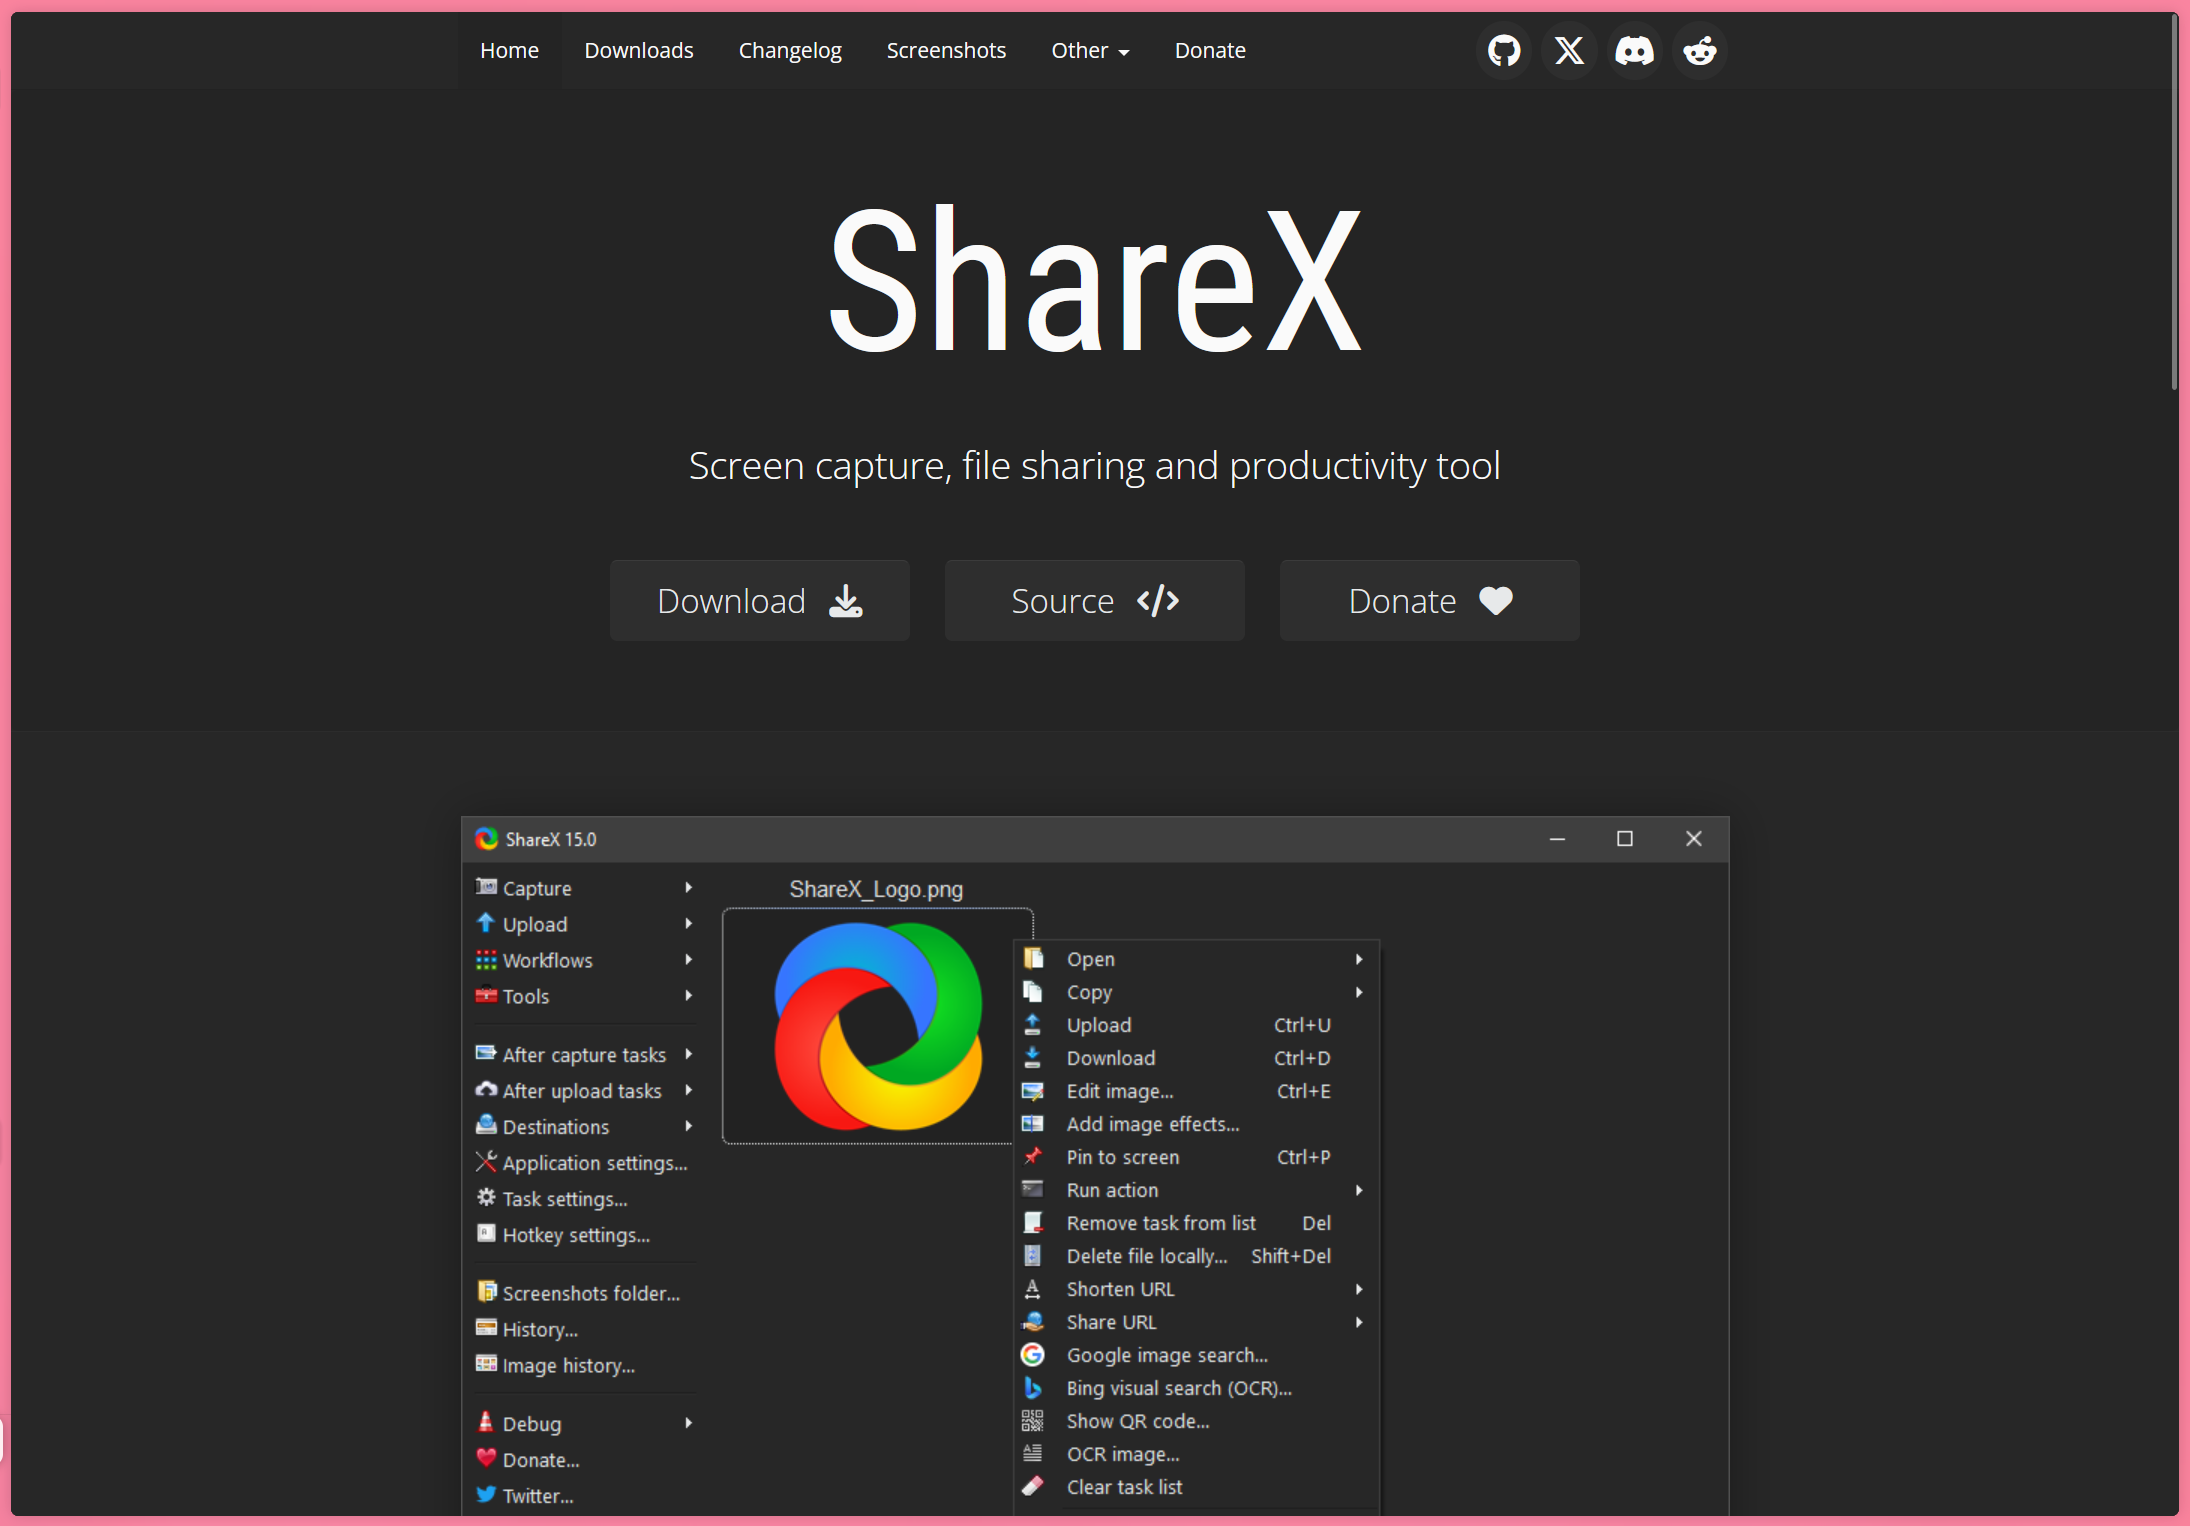
ShareX and Automatic Screenshotter can also delete any duplicate images if you accidentally double-capture the same page by pausing for too long. You can also pick the image format, quality, and file location. I chose the highest quality available and set it to create images as PNGs.
This step is repeated until you've reached the last page you intend to scan.
Next, locate the folder with all of the screenshot images that ShareX or Automatic Screenshotter created.
Import one screenshot of a page into Photoshop, and use batch automation to record a crop action so that the PDF's dimensions match the book's dimensions, and white space on the left and right is removed. Set the source of the action to the screenshot folder, and pick a folder to be the destination.
Then, import/drag the destination folder containing the cropped book pages into Acrobat. A prompt will appear asking to combine all images into a single PDF. Once combined, use the Optical Character Recognition (OCR) tool to convert each image into text.
Now you can finally upload the PDF to any TTS eBook viewer and have it read aloud.
Here is a step by step guide:
- Open the book you are scanning in the Amazon Kindle app
- Use Automatic Screenshotter or ShareX to capture images of your screen every few seconds (these programs can detect duplicate screenshots and changes in screen contents)
- Use the right arrow key to move on to the next page of your book after you hear the capture notification sound
- Once the last page has been captured, stop the program from taking screenshots
- In Photoshop, import one screenshot and open the Actions panel to record a crop edit.
- Click on the folder icon, name it "Batch Crop", and then click on the New Action icon. Click the record button
- Once recording, make the crop edit to alter the book page's dimensions to be accurate to the book instead of your computer screen. Click Stop.
- Then, go to File → Automate → Batch and select the action you just created
- Select the screenshot folder as the source, and a new empty folder as the destination, and click OK
- Then, select all of the properly cropped images in the folder and import them into Adobe Acrobat
- In Acrobat, use the tool to combine all of the images into a single PDF
- Then, select Scan and OCR in the tool menu
- Once completed, your book should be converted into an edible text file.
- Import the PDF into a TTS eBook reader application and give it a shot.